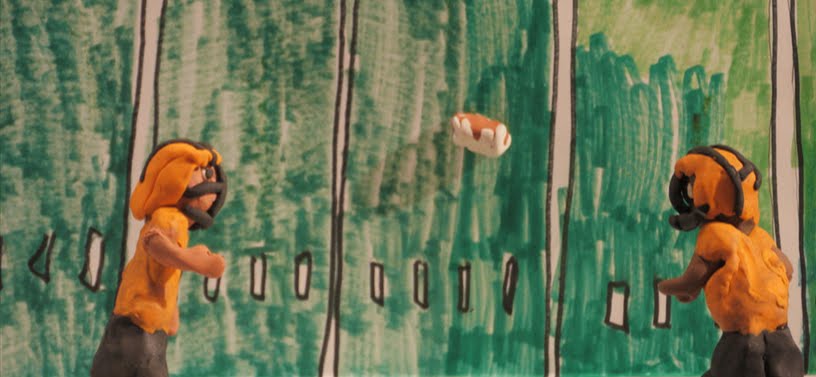
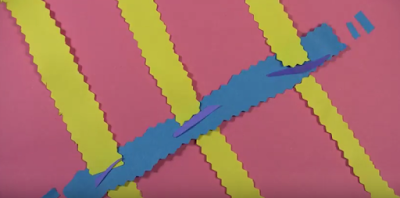
To help you prepare, for the animation workshops, look through the resources presented here.
View the various topics by selecting them in the Blog Archive which is located on the right side of this screen.
Parents Note:
There are many youtube videos sourced here for information, inspiration, & tutorials. Please note that when each video is finished playing, jump back to the blog to select another. If this is not done, youtube will automatically play the content that is next on its list. It may not be appropriate content.
Another option is to select settings (the gear) and from the pop up menu, turn off autoplay.
These controls pop up you rollover a video.
Sunday, November 8, 2015
Friday, November 6, 2015
2-D & 3-D Animations - Getting Ready + Preliminary Work
1. Story Idea
Get an idea and decide what will happen in your story.
2. Create a Storyboard
A storyboard is a graphic organizer – a series of illustrations or images displayed in sequence for the purpose of pre-visualizing an animation or any sequence.
Sketch out the events in your story.
The storyboarding process of today, was developed at the Walt Disney Studio during the early 1930s.
3. Gather all Materials & Create!
Get all you supplies make backgrounds, characters, + gather objects to animate.
Background: make it at home, before the workshop begins, if you can
- paper size: about 12 x 18 inches
- draw using crayons, markers, or colored pencils
- if you don't want to draw, you can use a just a plain color with nothing on it.
- keep it simple to make sure that your characters & objects will stand out in front of it.
Characters: clay will be available at the workshop
- create 3-D characters about 4 inches high out of clay
- if you want to work flat in 2-D, create characters (or shapes) out of cut paper or objects
- small objects such as paper clips, legos, and whatever else you can think of can also be used. Bring these items with you.
Title: make this in advance or at the workshop
- create a title using paper & crayons, markers, or colored pencil
- make sure its large and bold enough to be easily read
- include credits, which would be your name, like: by Your Name here
4. Photograph Your Animation
- bring all your created backgrounds, characters & props to the workshop where we will help you photograph each frame to create your animation
- if you need to continue working on any backgrounds, characters or props at the workshop, you will have some time to this. There will be some supplies there that you can use, such as clay, paper, etc.
Get an idea and decide what will happen in your story.
2. Create a Storyboard
A storyboard is a graphic organizer – a series of illustrations or images displayed in sequence for the purpose of pre-visualizing an animation or any sequence.
Sketch out the events in your story.
 |
| Animation Storyboard by Tom Pounder |
3. Gather all Materials & Create!
Get all you supplies make backgrounds, characters, + gather objects to animate.
Background: make it at home, before the workshop begins, if you can
- paper size: about 12 x 18 inches
- draw using crayons, markers, or colored pencils
- if you don't want to draw, you can use a just a plain color with nothing on it.
- keep it simple to make sure that your characters & objects will stand out in front of it.
 |
| shutterstock.com |
Characters: clay will be available at the workshop
- create 3-D characters about 4 inches high out of clay
- if you want to work flat in 2-D, create characters (or shapes) out of cut paper or objects
- small objects such as paper clips, legos, and whatever else you can think of can also be used. Bring these items with you.
 |
| Clay figures against a background, at the Weston Animation Workshop with Ruben Moreno |
 |
| 2-D Cut paper animation workshop: sarahmichellerupert.com/ |
 |
| 2-D Cut paper animation workshop: sarahmichellerupert.com/ |
Title: make this in advance or at the workshop
- create a title using paper & crayons, markers, or colored pencil
- make sure its large and bold enough to be easily read
- include credits, which would be your name, like: by Your Name here
4. Photograph Your Animation
- bring all your created backgrounds, characters & props to the workshop where we will help you photograph each frame to create your animation
- if you need to continue working on any backgrounds, characters or props at the workshop, you will have some time to this. There will be some supplies there that you can use, such as clay, paper, etc.
 |
| Set up and ready to photograph an animation by awn.com |
Thursday, November 5, 2015
Wednesday, November 4, 2015
2-D Cut Paper Animation Inspirations
Cut Paper
Coco
Born Free
Abstract
A New Beginning
Cut Paper, Objects, & Photos
The Legend of Johnson
Shadow Silhouettes
The First Circus, Part 2
Coco
Born Free
Abstract
A New Beginning
Cut Paper, Objects, & Photos
The Legend of Johnson
Shadow Silhouettes
The First Circus, Part 2
Tuesday, November 3, 2015
Monday, November 2, 2015
Claymation Inspirations
Make a Face
Animations with Ruben Moreno
Animations with Ruben Moreno
Aardman - Creators of Wallace & Gromit
Aardman Alert!!!
Aardman Studio Tour
Morph Goes Loco
Morph - Fishcakes
How to Make a Character - Morph
Red Nose Day - Morph
More
Animations with Ruben Moreno
Animations with Ruben Moreno
 | |
| about Harriet Tubman |
Aardman - Creators of Wallace & Gromit
Aardman Alert!!!
Aardman Studio Tour
Morph Goes Loco
Morph - Fishcakes
How to Make a Character - Morph
Red Nose Day - Morph
More
Professional
Sunday, November 1, 2015
Subscribe to:
Comments (Atom)


